How to print and put together a pdf sewing pattern
Every now and then I get a question from a customer asking how on earth does a digital pdf pattern on a computer turn into a full size printed pattern. It does require a few minutes to assemble the pages, but the upside is that you can go from purchasing a pattern to sewing in a matter of minutes!
1. Open the file in a pdf reader such as Adobe reader. Choose paper size A4 or US letter. Before clicking print, open the print settings to make sure you have un–ticked “scale to fit” or “fit to page”. It’s very important to print the pattern without scaling i.e. 100% scale. Often your computer will have “fit to page” set by default, so make sure to change these settings. To check that the scale is correct, you can print out the page with the test square only (second page on our patterns), and check that it measures whatever is indicated in the pattern.

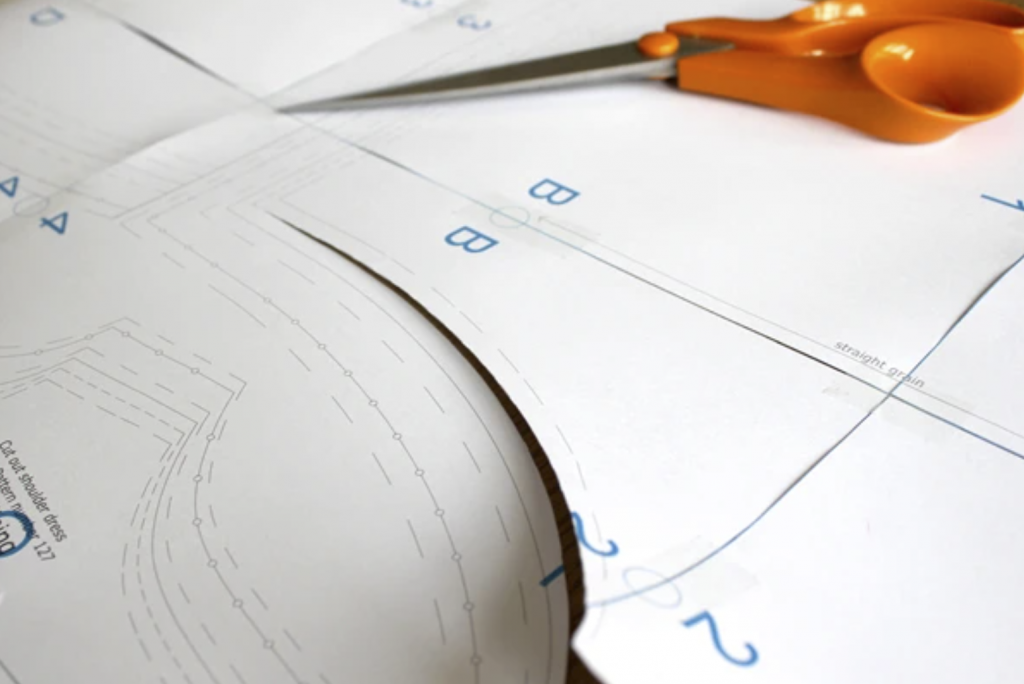
2. Cut the pages along the blue borders (they will appear grey if you’ve printed in black and white which is fine). If you want, you can leave the borders on every other page and overlap the pages when taping. I prefer to cut off all borders as I find the patterns fold away easier without any extra layers of paper, but it’s a matter of taste really!

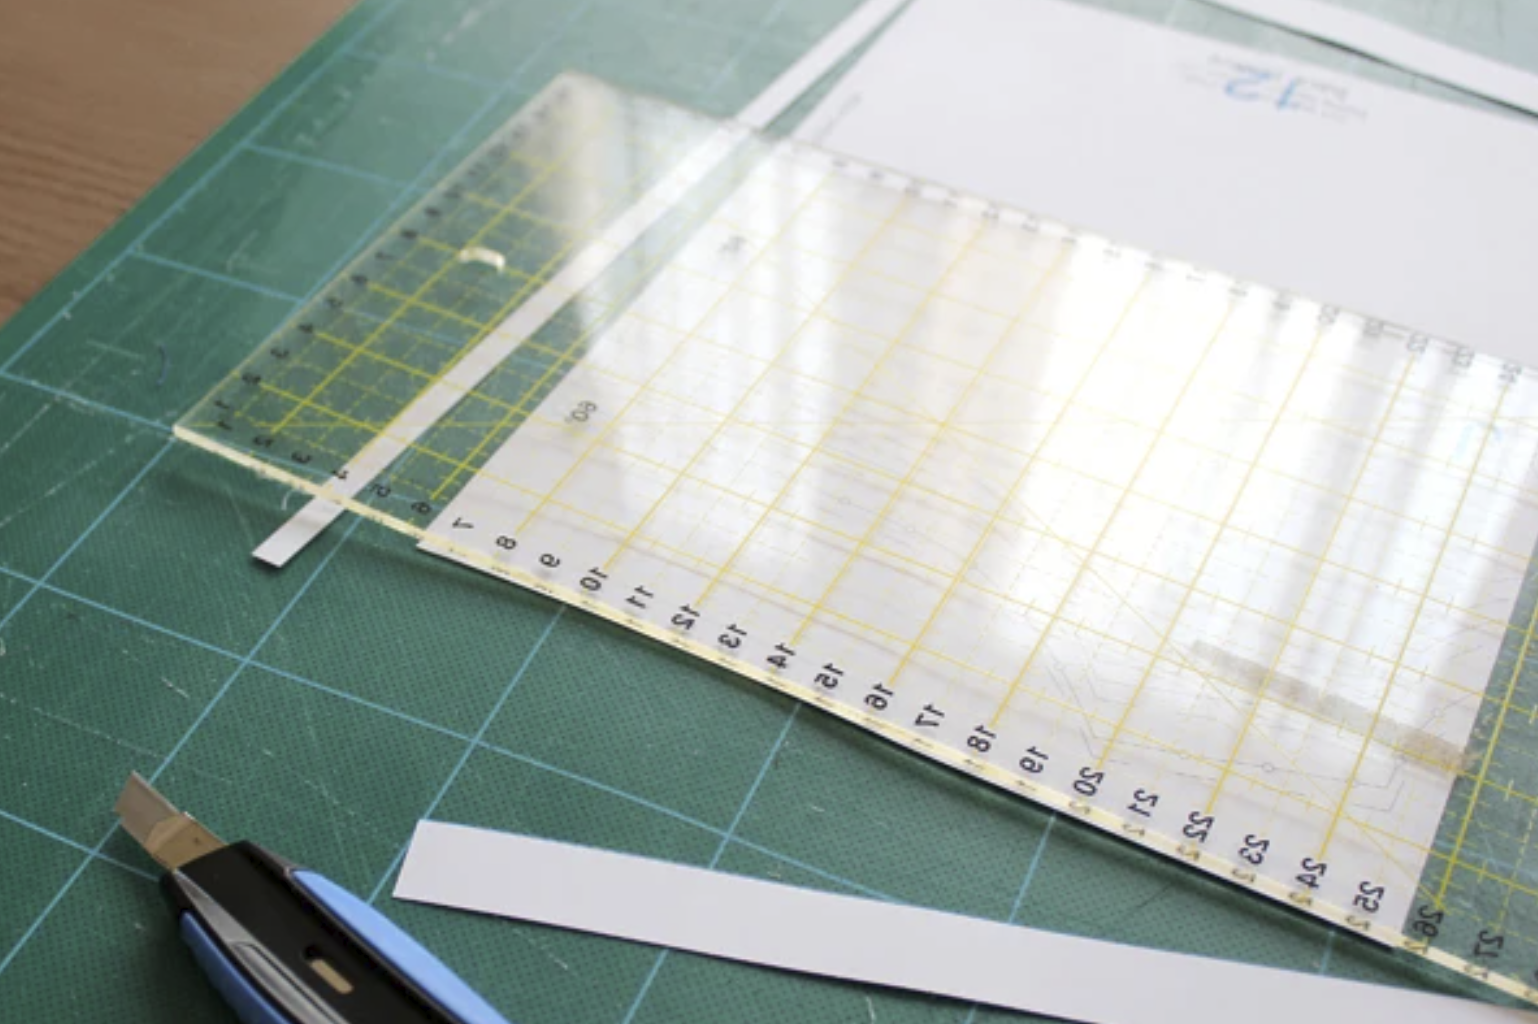
Scissors work just fine, but if you already have a cutting mat and ruler for fabric cutting (I hope you do as it makes the cutting process so much more enjoyable), I recommend investing in a good utility knife as this is a much quicker way to cut paper. You can also use a rotary cutter but don’t use the one you have for fabrics on paper as it dulls them out. Use an old one and save the sharp ones for fabric.


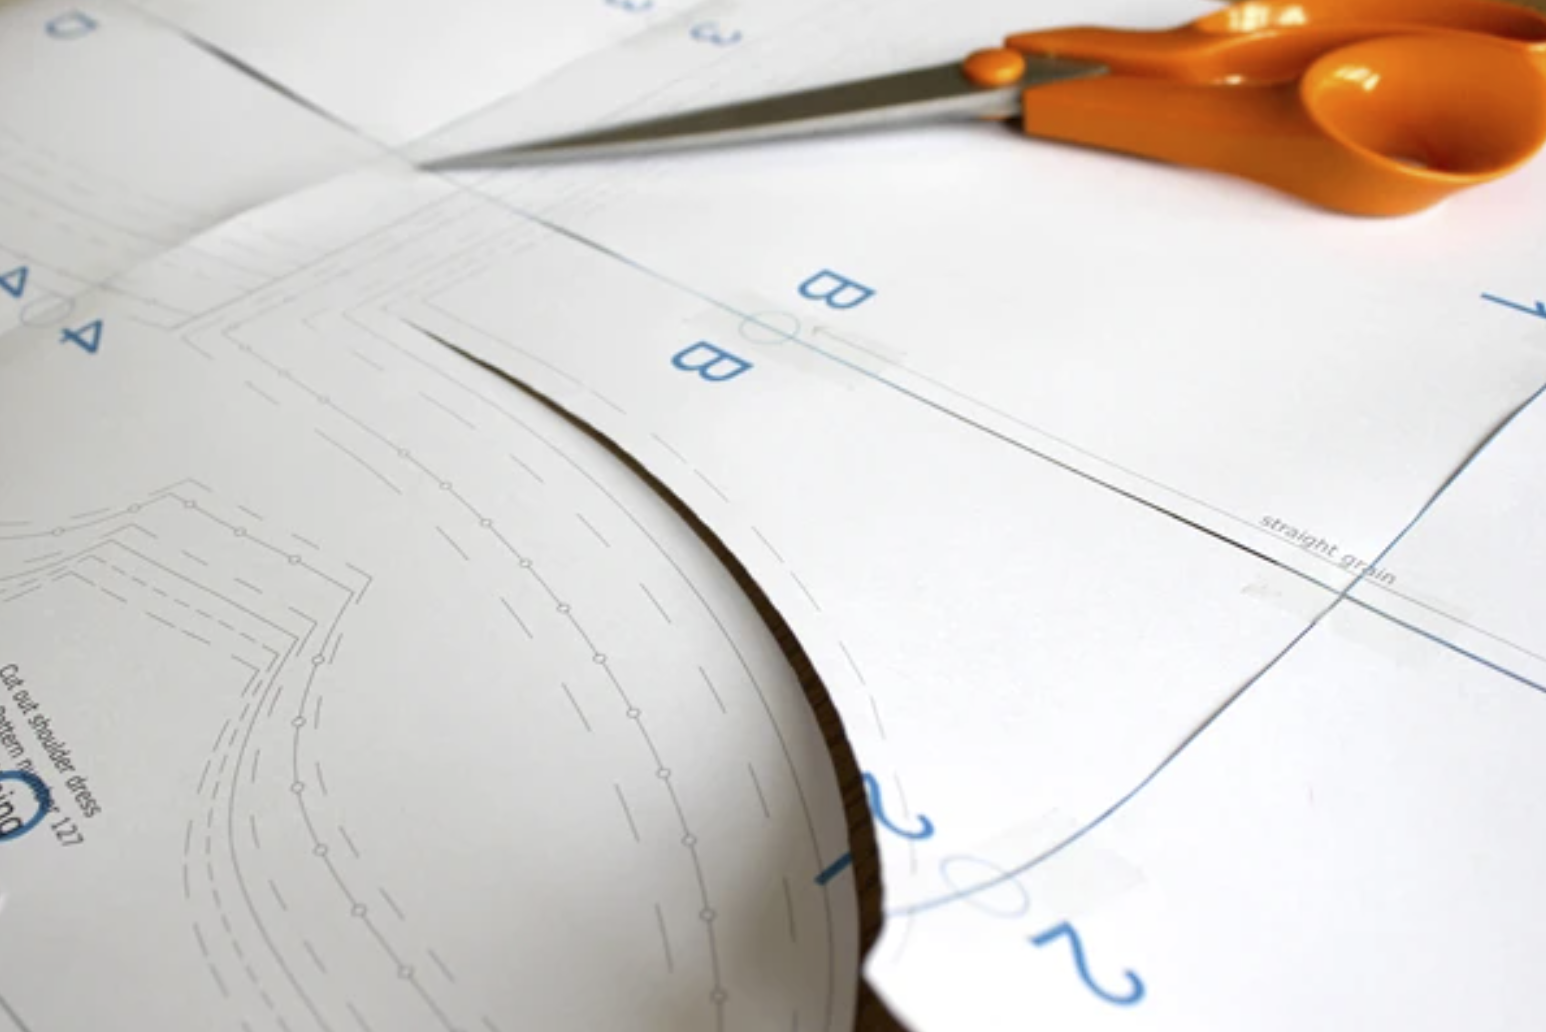
3. Tape the pages together, matching up the letters and numbers.


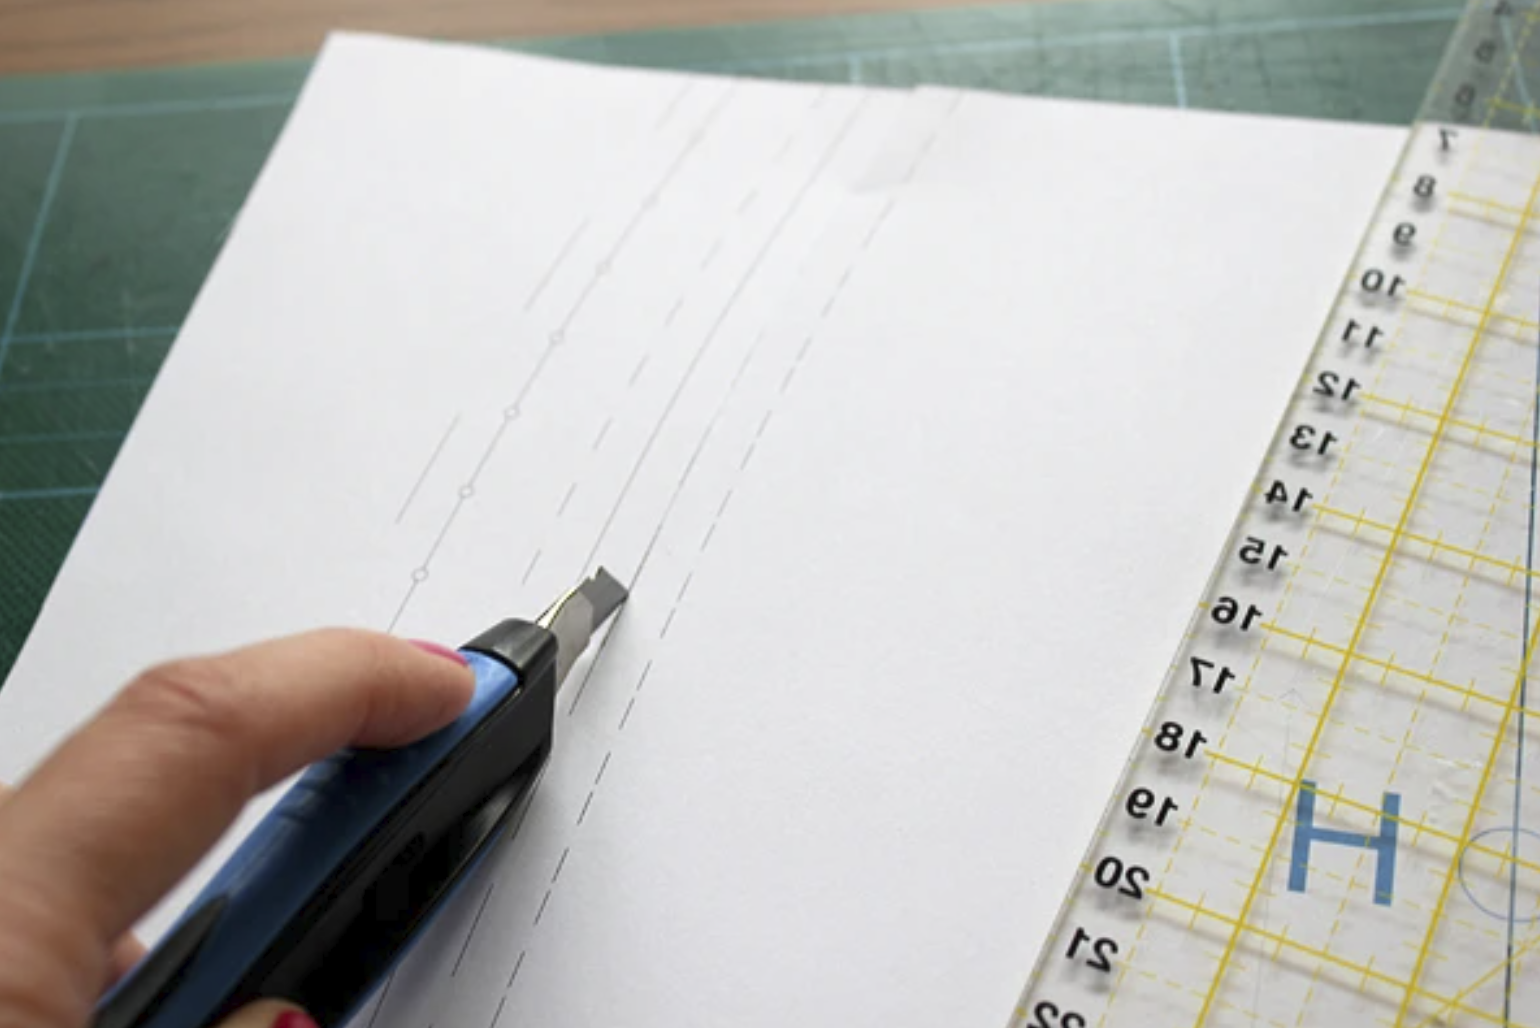
4. Cut out the pattern in your size. Again, you can use scissors but a knife and a ruler save you some time.

With the knife you can go freestyle on the curves…

…and use the help of a ruler when you get to the straight bits.


Leave a Reply